Last Updated on September 28, 2023 by tech pappy
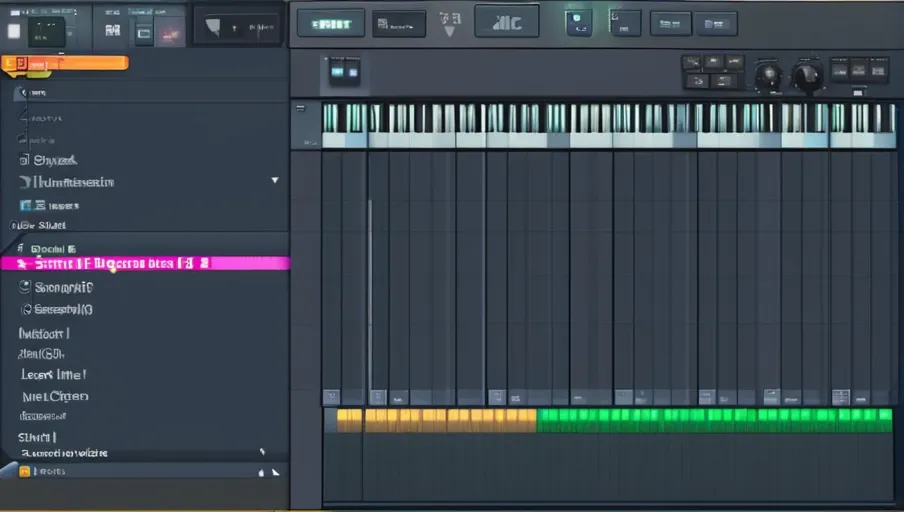
Are you looking for the best way to add sample packs to your FL Studio setup? Adding sample packs can greatly enhance your music production, so it’s important to get it right.
In this article, we’ll show you how to download, install, locate, and assign sample packs in FL Studio, plus provide some troubleshooting tips.
Let’s get started!
Key Takeaways
- Sample packs can be imported into FL Studio by dragging and dropping the folder into the browser window.
- To install sample packs, go to ‘Options’, then ‘File Settings’ in FL Studio, and select the sample pack folder.
- Sample packs can be located and added in FL Studio by opening the browser window and selecting ‘Packs’.
- Sample packs can be assigned to a project as ‘one shot’ samples or in an instrument channel and can be accessed through FL Studio’s File Browser for use with any track or plugin.
Downloading Sample Packs
To get started, download the sample packs you want to use. Sample packs are collections of sounds and audio files that can be used as inspiration for your music production. There are many places to find free sample packs online, but some require payment or subscription.
Once you have found the right samples, they need to be imported into FL Studio for use in your projects. To do this, simply drag and drop the sample pack folder into FL Studio’s Browser window and it will appear under ‘User Data’.
You can then access the individual samples by double-clicking on them within the browser window. Alternatively, you can drag them directly onto a track or pattern in order to add them to your project.
With samples included in your project, you can use editing tools like equalization (EQ), compression, and reverb effects to shape their sound and make them fit better with other elements of your song.
Now that you know how to add sample packs in FL Studio, you’re ready to take your music production further!
Installing Sample Packs
Installing sample packs is pretty easy. Sample packs are collections of sounds and samples that can be used in music projects. They’re great for adding unique elements to a track.
To get started with installing them in FL Studio, you’ll first need to locate the folder where your sample packs are stored. If you downloaded them from a website, they should already be in a ZIP file or ready-to-use format.
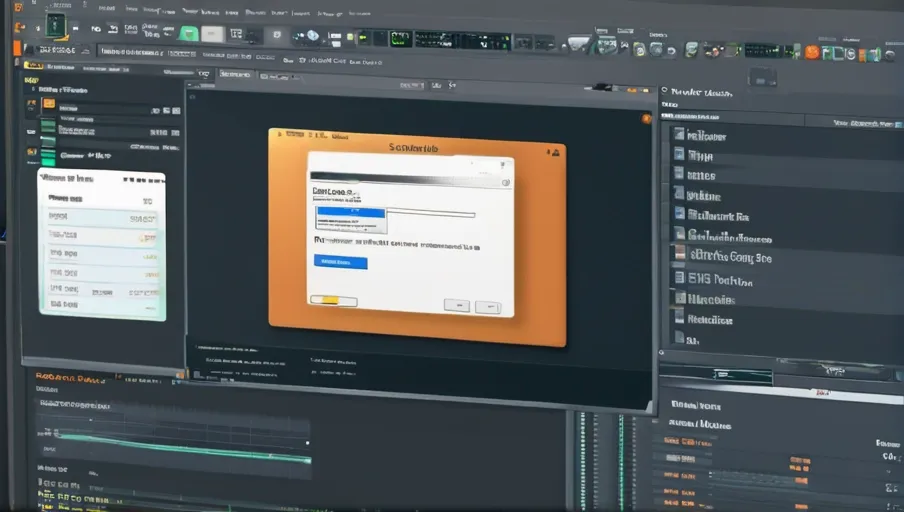
Once you’ve located the files, open up FL Studio and go to ‘Options’, then ‘File Settings’ in the menu bar at the top of your screen. From here, click on the ‘Browse’ button next to ‘Samples’.
Navigate through your files until you find where you saved your sample pack and select it. After selecting it, make sure to hit ‘Apply’ so that FL Studio can recognize the new samples.
When finished, all of your new samples should appear within the browser window of FL Studio under their own subfolder with their respective names.
And that’s it! Installing sample packs is now complete; start adding those extra elements to your project!
Locating Sample Packs
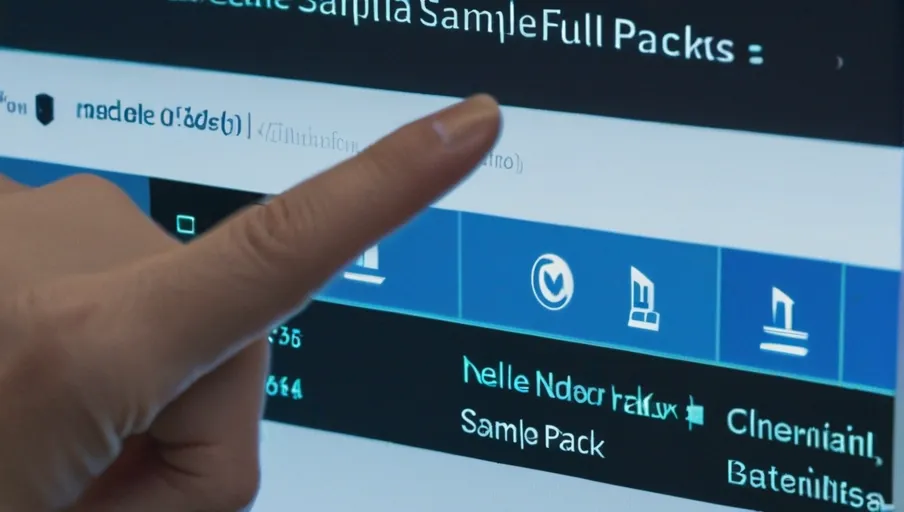
Finding sample packs can be a breeze. To access them in FL Studio, simply open the browser window and select ‘Packs’ from the drop-down list.
This will present you with all of the available packs in your library. You can also search for specific packs by typing in keywords or choosing from one of the many categories listed on the left side of your screen, such as genres or instruments.
Additionally, if you know the exact name of a pack you’re looking for, just type it into the search bar at the top right corner and hit enter to quickly locate it.
Once you’ve found what you’re looking for, double-click on it to add it to your project.
Sample packs are an invaluable tool for producers that can help spice up any track or beat, so make sure to explore all your options before settling on one!
Assigning Sample Packs

Once you’ve located the sample pack you want, assigning it to your project is easy. Just double-click on it and you’re ready to go! You’ll be asked if you’d like to add the sample pack as ‘one shot’ samples or in an instrument channel.
If you choose one-shot samples, they become available in the Browser window under the Samples folder. If you select the instrument channel, a new pattern will be created containing all of the samples in that particular pack. These patterns can be found in the browser window under Instruments > Direct Wave.
You can also assign packs by clicking Browse, then Pack on FL Studio’s toolbar at the top of your screen and selecting from a list of available packs.
To preview a file before adding it to your project, simply click Preview and then Play Sample or Double-Click Sample. Once assigned, these files are now accessible from within FL Studio’s File Browser for use with any track or plugin within your project.
Troubleshooting Sample Packs
If you’re having trouble getting your sample packs to work in your project, don’t worry—it happens! There are a few troubleshooting tips that can help get you back on track.
Here’s a quick bullet list of what to look out for:
- Make sure the sample pack is compatible with FL Studio.
- Check that the file was correctly downloaded/installed properly.
- Check if there are any missing files causing the issue.
- Manually add samples packs in the browser window of FL Studio.
If none of these steps resolve the issue, then contact your sample pack vendor or consult the online support from FL Studio for further assistance.
With some simple troubleshooting and patience, you can get those sample packs working again in no time!
Conclusion
Wrapping up, adding sample packs to FL Studio is a great way to expand your sound library and take your music production to the next level.
Now you know how to download, install, locate, and assign sample packs in FL Studio.
If you run into any issues with your sample packs, try troubleshooting for a solution.
With this knowledge under your belt, you can now start exploring new sounds and creating even more awesome music!

