Last Updated on September 20, 2023 by tech pappy
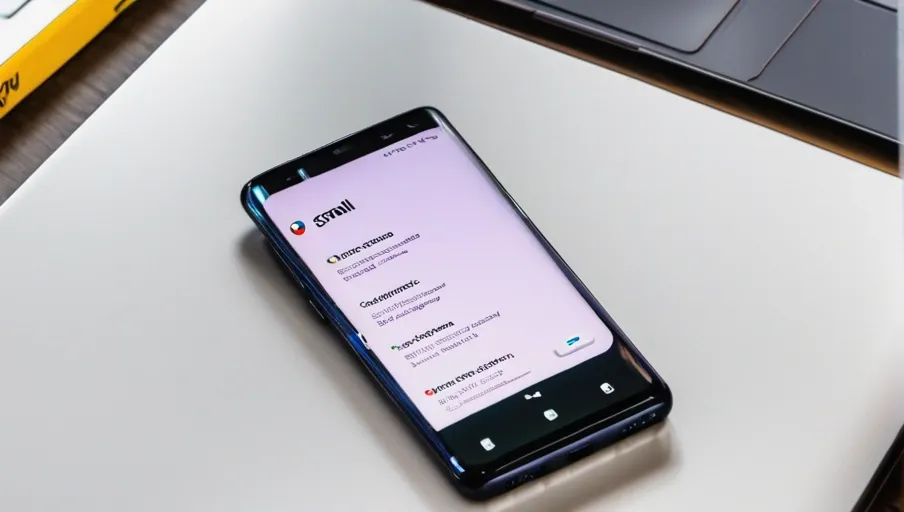
Are you having trouble with Gmail not working on your Samsung S20? Don’t worry! This article will provide a few helpful troubleshooting tips to get you back up and running in no time.
We’ll cover:
Restarting the device
Checking your internet connection
Checking network settings
Updating the Gmail app
So let’s get started and get your email flowing again!
Key Takeaways
- Ensure the Gmail app is up-to-date
- Restart the Samsung S20 to resolve minor software issues
- Ensure stable and active internet connection
- Double-check the correct network connection and disable Airplane Mode
Troubleshooting Gmail App on Samsung S20
Let’s troubleshoot the Gmail app on your Samsung S20.
First, make sure you have the most up-to-date version of the Gmail app installed. If not, update it in your device’s settings or through the Google Play Store.
Then check to see if other apps are experiencing similar issues. If they are, then your device may need to be restarted or powered off for a few minutes before turning it back on again.
If that doesn’t work, try reinstalling the Gmail app from your phone’s settings menu or from the Google Play Store. If that still doesn’t help, delete any data associated with the app by going into Settings > Apps > Gmail and tapping ‘Clear Data.’ This should remove any corrupted files causing problems with Gmail’s performance.
You can also check if there is an issue with your internet connection by testing another Wi-Fi network or using mobile data instead of Wi-Fi; if it works this way, then you know there is an issue with your Wi-Fi network and not necessarily the Gmail application itself.
Restarting the Device
Try restarting your device. It’s a simple yet effective troubleshooting solution that can help resolve many minor software issues. To do this, press and hold the power button for a few seconds until you see the Power Off option on your screen.
Tap it to turn off your device, wait for a few minutes, then turn it back on again by pressing the power button once more. Afterward, try using Gmail again and see if that solves the problem.
If a restart didn’t work, there may be other methods of fixing this issue, like checking the network connection or updating apps. Before you do any of these steps, though, make sure to clear the app’s cache first, as this can help fix some bugs and glitches as well. To clear Gmail’s cache, go to Settings > Apps > Gmail > Storage > Clear Cache. After clearing its cache, open Gmail and check if it works properly now or not.
Restarting is just one of several ways you can fix when Gmail is not working on Samsung S20 devices; however, it should always be done first before trying out anything else since it helps reset some settings and refresh memory usage without deleting any data from your device in the process.
Checking Internet Connection
Check that your internet connection is stable and active; otherwise, you won’t be able to use Gmail on your device.
To check if the connection is working properly, open a web browser on your Samsung S20 and try to access any website. If it loads properly, then there’s no issue with the connection. However, if you’re unable to connect or have slow loading speeds, there might be a problem with your network settings.
If this happens, try restarting the wireless router or modem by unplugging it for at least 30 seconds before plugging it back in. You should also make sure that you’re connected to the right network and not the guest mode of the same one.
In addition, verify that Airplane Mode isn’t enabled. Go into Settings > Network & Internet > Airplane Mode and make sure it’s off. Lastly, ensure that Wi-Fi Calling isn’t activated; disable this feature in Settings > Connections > Wi-Fi Calling if necessary.
Once all these steps are done and verified, see if Gmail works again on your phone.
Checking Network Settings
To ensure your network settings are correct, double-check that you’re connected to the right network and that airplane mode is off. You can check this by going to Settings > Connections > Wi-Fi. If there’s a lock icon next to the network name, it means it’s password-protected, so make sure you know the correct password.
Additionally, if you’re using mobile data instead of Wi-Fi, go to Settings > Connections > Mobile Network and switch Data Roaming on. This will allow your device to connect to any available networks when in use.
If you’ve done all of this and still can’t connect, try restarting your phone as well as turning off and on both Wi-Fi and Mobile Data services from within the settings menu. If that fails too, then resetting all of your network settings could be worth a try. Go to Settings > General Management > Reset > Reset Network Settings.
However, bear in mind that this will erase all saved Wi-Fi connections and Bluetooth pairings, so make sure you have these details written down beforehand!
Updating Gmail App
If you’re having trouble with your Gmail app, updating it might help.
To get the latest version of the Gmail app on your Samsung S20, open the Play Store app.
Swipe up from the bottom of your screen to view all apps and tap on ‘Play Store.’
Once in Play Store, type ‘Gmail’ into the search bar and select ‘Gmail.’
Tap on ‘Update’ if an update is available.
If no updates are available, you’ll see a message that reads: ‘This app is up to date.’
You can also enable automatic updates for all apps by going to Settings > Apps & notifications > Special access > Install unknown apps > Google Play Store > Allow from this source.
This will ensure that any future updates are installed automatically.
Additionally, make sure you have a reliable internet connection when attempting to update, as slow or unreliable connections can cause issues with downloading new versions of apps.
Conclusion
If you’re having trouble getting the Gmail app to work on your Samsung S20, don’t worry. You can easily fix it by following these steps:
- Restart your device.
- Make sure your internet connection is working properly.
- Double-check your network settings.
Additionally, make sure that you have the most up-to-date version of the app installed.
With these steps, you should be able to get your Gmail running again in no time!

