Last Updated on December 7, 2023 by tech pappy
Are you ready to add some charm and personality to your Google Docs? Emojis are a fun and expressive way to spruce up your documents.
In this guide, you’ll discover how to seamlessly incorporate emojis to inject personality and flair into your content. Whether you want to add humor, convey emotions, or simply liven up your text, emojis are the perfect solution.
Learn how to effortlessly integrate these expressive symbols using the Insert menu or the @ symbol. You can even add emoji reactions to text for enhanced communication in collaborative efforts.
Get ready to supercharge your Google Docs by exploring the world of emojis and unlocking their full potential in your documents.
Accessing the Full Emoji List Through the Insert Menu
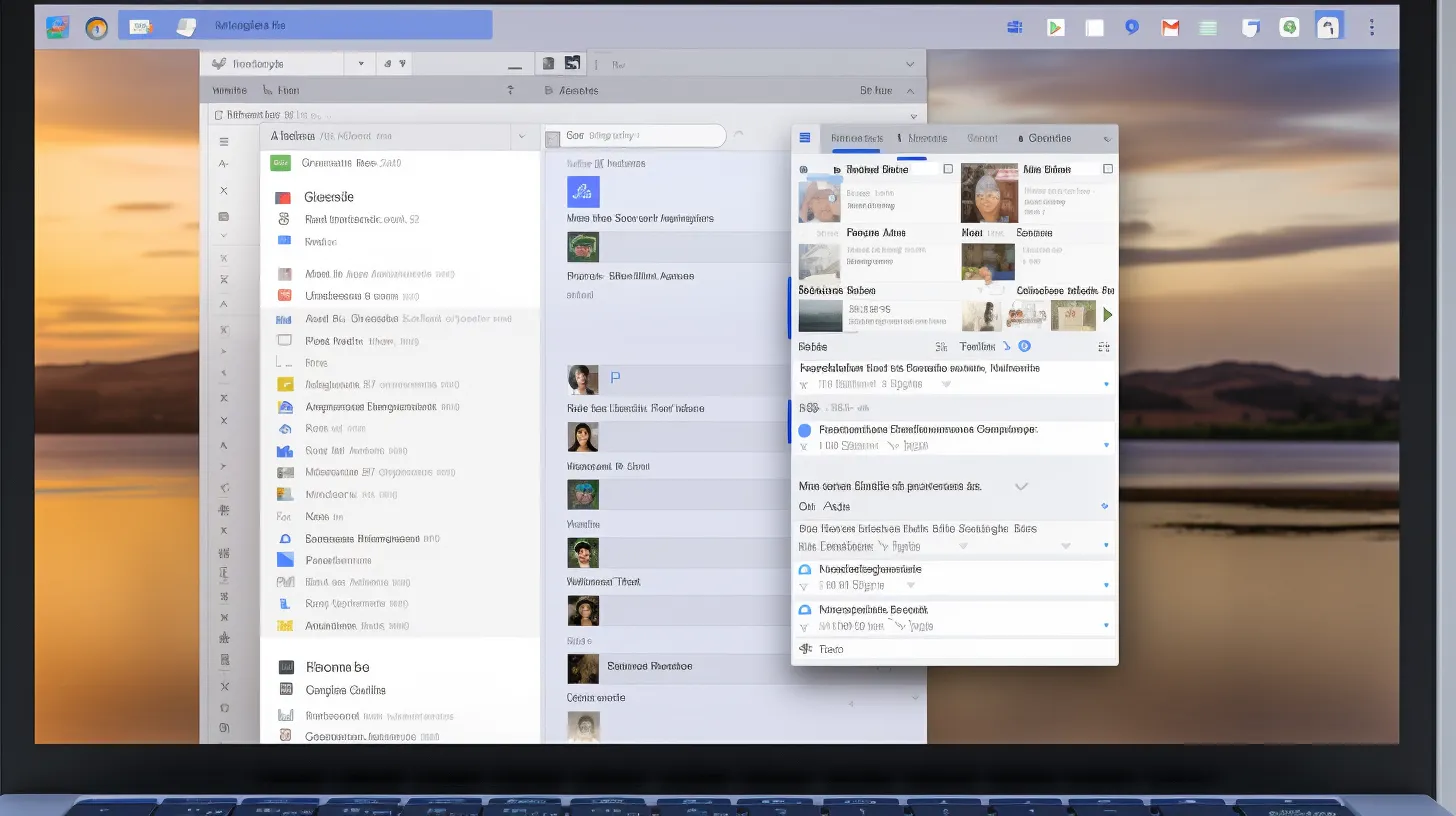
To access the full emoji list through the Insert menu in Google Docs, click on ‘Insert’ in the menu bar and select ‘Emoji.’
Emojis aren’t just for texting anymore. They’re a fun and expressive way to enhance your documents. Exploring emoji trends can add creativity and flair to your work.
You can use emojis to convey emotions, emphasize points, or even replace words. For example, a simple smiley face can brighten up a dull paragraph.
Emojis also have creative uses in documents, such as making bullet points more visually appealing or adding a touch of personality to your headers.
Adding Special Characters Using the Insert Menu
To access special characters using the Insert menu in Google Docs, continue enhancing your document by adding visually engaging emojis alongside your texts and comments.
If you’re not sure of the name of an emoji, you can draw it using the Special Characters tool. Simply open your Google Docs in a web browser, position the cursor where you want the emoji, click Insert, and select Special Characters. This will allow you to draw emojis directly into your document.
If you do know the name of the emoji you’re looking for, you can also find emojis by name by using the @ symbol.
Place the cursor where you want the emoji in your document, type @ followed by the emoji name, and then choose the desired emoji from the context window. This makes it easy to add the perfect emoji to your document.
Adding Emojis Using the @ Symbol

You can easily add emojis using the @ symbol in Google Docs by typing @ followed by the emoji name at the cursor position. This simple method enhances communication and the readability of your documents.
Here’s how to do it:
- Open the document in Google Docs.
- Place the cursor where the emoji should be inserted.
- Type @ followed by the emoji name.
- Select the desired emoji from the context window.
Using emojis to improve communication can add clarity and emotion to your text, making it more engaging for readers. Moreover, the impact of emojis on document readability can help convey tone and intention, ensuring that your message is understood in the way you intended.
Try adding emojis using the @ symbol to see the difference it can make in your documents.
Adding Emoji Reactions to Text

When using emojis to improve communication in Google Docs, consider adding emoji reactions to text for a more engaging and expressive document.
By reacting to specific text with emojis, you can convey tone and intention effectively, enhancing the readability and impact of your message.
To highlight important information, simply open the document, highlight the text to react to, click the Emoji icon on the right, and select the desired emoji.
The reaction will then appear beside the highlighted text, adding a visual dimension to your feedback.
This method not only makes the document more visually appealing but also provides a quick and efficient way to offer feedback or express your reaction to specific parts of the text, making your communication more interactive and engaging.
Enhancing Documents and Collaborations
Enhance your documents and collaborations in Google Docs by integrating emojis for a more engaging and expressive communication experience. Collaborative emoji use can add a touch of creativity to your document enhancement, making it more visually appealing and fostering better communication among collaborators.
Consider the following tips to supercharge your Google Docs:
- Use emojis to express emotions and reactions, bringing a personal touch to your collaborative work.
- Incorporate emojis to emphasize important points and draw attention to key information within the document.
- Experiment with emojis to add a playful and creative element to your collaborative projects, making them more enjoyable and engaging.
- Leverage emojis to provide quick feedback and responses, enhancing the overall collaboration experience.
Exploring Other Useful Features
Exploring the versatility of Google Docs allows for the discovery of additional useful features that can further enhance your collaborative document creation experience.
When exploring collaboration tools, you can take advantage of real-time editing, comments, and suggested edits to streamline teamwork. Leveraging these features allows for seamless collaboration and communication within the document.
Additionally, Google Docs provides a wide range of formatting options, including customizing margins, adjusting line spacing, and inserting page breaks. These formatting options enable you to present your content in a polished and professional manner.
By familiarizing yourself with these features, you can maximize the potential of Google Docs for efficient and effective document creation.
Take the time to explore these features to unlock the full potential of Google Docs for your collaborative projects.
Rotating Text in Google Docs

You can rotate text in Google Docs using the ‘Rotate’ option in the toolbar. This feature allows you to add a creative touch to your documents and enhance their visual appeal with unique text formatting options. To rotate text, simply follow these steps:
- Select the text you want to rotate.
- Click on ‘Format’ in the menu bar.
- Choose ‘Text rotation’ from the drop-down menu.
- Select the desired rotation angle.
Deleting Version History

To remove earlier drafts and maintain document clarity, you can delete the version history in Google Docs. Managing document revisions is essential for keeping your work organized. Here’s how to do it:
- First, open your document in Google Docs.
- Go to ‘File’ and select ‘Version history.’
- From the drop-down menu, choose ‘See version history.’
- Next, click the three vertical dots next to the version you want to delete, and select ‘Delete’ from the options.
- Be aware that once you delete a version, it’s permanent and can’t be recovered.
- However, if you accidentally delete a version, you can try contacting Google Workspace support for assistance in recovering deleted versions.
Layering Images for Impressive Effects
Enhance your Google Docs with impressive effects by layering images for visual impact. To achieve this, consider blending images creatively and creating photo collages. Here’s how you can do it:
- Select the images you want to layer in your Google Doc.
- Use the ‘Arrange’ option in the ‘Image’ menu to position the images on top of each other.
- Adjust the transparency of the top image to create a visually appealing blend.
- Experiment with different layering techniques to achieve the desired effect.
Layering images can add depth and interest to your documents, making them more visually engaging for your audience. Give it a try and see how it elevates the overall look of your Google Docs.
